Getting applicants info through Typeform and approving them through a dashboard – no code required

Recruiting can be a difficult endeavor if only for the vast amount of resumes that need to be triaged. It’s easy to get lost in the process and not know if an applicant’s resumé was already read, and mistakes can either cost time or make you lose great talent. A good process should ensure that you have to focus only on the analytical part, and not sort through the same emails over and over again.
We’ll teach you how to get applicant’s info through Typeform and then get that information in a dashboard where you can keep track of and evaluate all pending submissions.
Platforms used:
Time to build the tool ⏱:
- 4min 17sec on average.
Costs to test ?:
- Typeform ($0 under 10 responses) + Jestor ($0 under 200 actions/mo) = $0.00*
*costs may vary according to different providers pricing changes.
5 Steps to Get applicants info through Typeform and approving them through a dashboard
1. Create your form.
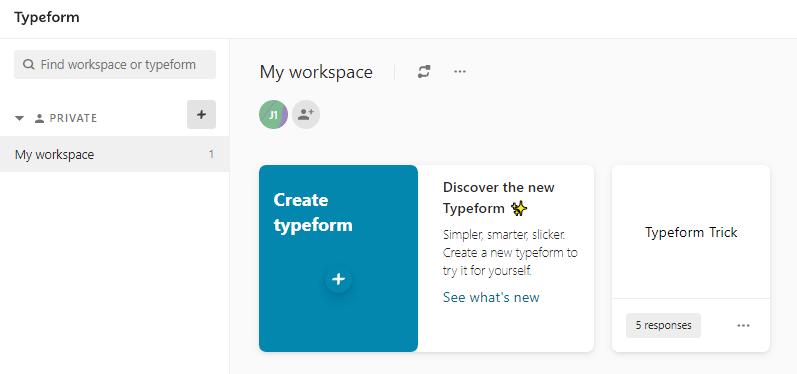
Go to Typeform and create a new form with all the information you’ll need from the applicant. For example, you’ll usually need an applicant’s name, email address, and in this case a field for their LinkedIn profile. Once you’re done, publish the form and go to “Share” to get the link!

2. Create your Applicants list.
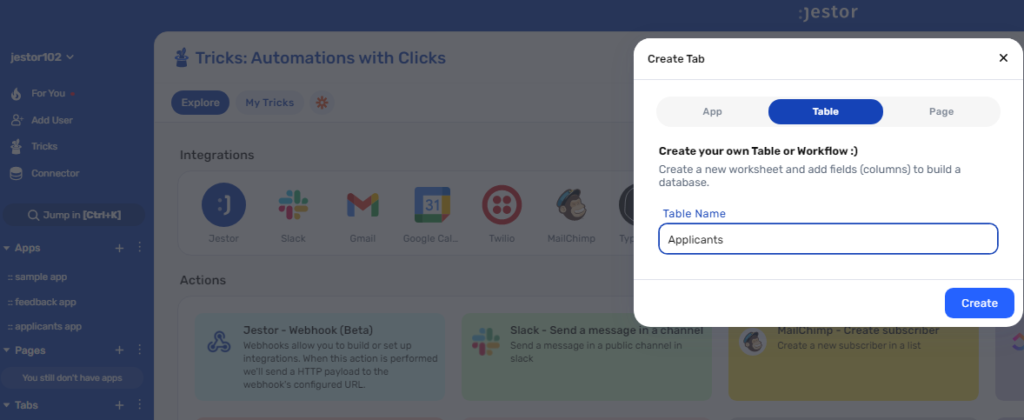
Create a table in Jestor, name it “Applicants”, and add all the fields you’ll need for the process, which in this case will be all the fields created in the form from step one. Also, create a single select field for Status, and write the options Approved, Discarded, and On hold.

3. Integrate Typeform to the Applicants list.
Let’s get the information from Typeform automatically. Open the tricks panel (by clicking on the bunny in the hat icon) and create a new trick. Give it a name and description so you can later identify this trick should you need to edit or deactivate it.
Now, as the trigger for this automation, select “When a new response is received in Typeform“. Connect your Typeform account and select the form you’ve created in step one in the “Choose the form” dropdown field. Save this and choose the “Jestor – Create a new record” action. Select the “Applicants” table and match the information coming from the form to the fields in the list. Now, every time someone submits the form, the information will be automatically sent to Jestor.

4. Create an app to see the data.
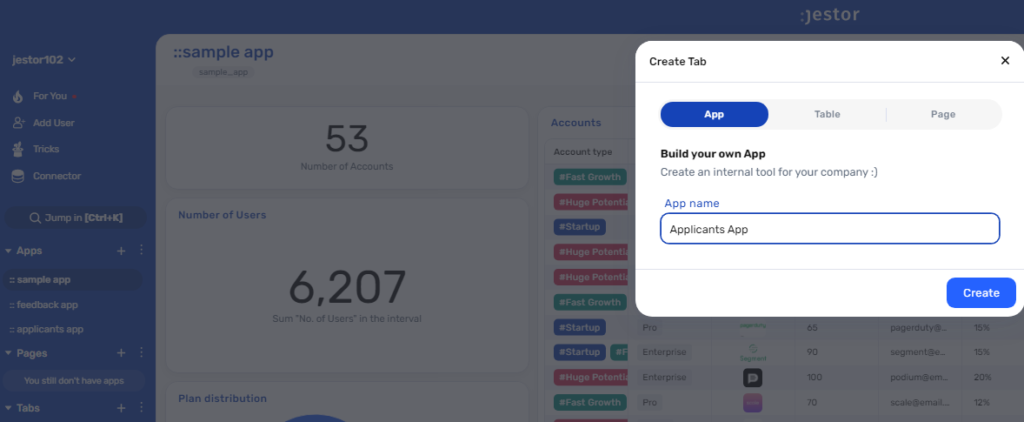
Create an app in Jestor and name it “Applicants App”. We’ll build one component in this app: a table that shows every new applicant.
- Table: click on the + icon, then Tables. Name it “New Applicants”, then select the Applicants table. Select and arrange the fields you want to see in this table, and add a filter. Here, we’ll go with “Status” as the filtered field, “It contains”, “New” as the condition.
Resize the component to your liking and save.

5. Test your automation to make sure everything is working as planned.
Submit a new form with your own information. Now go to the Applicants App. The table component you created should now have your submission.
Click on the Status field (or open the record itself) and change it to “Approved”. As you have now triaged this record, it will vanish from the table! Now you know that every single record present here is actually something you haven’t looked at yet, and can work accordingly.
The cool thing about this is that you can create follow up automations (such as Tasks for every approved applicant), and look at the database of applicants later if you need to. For example, if you want to look at every applicant you put “On hold”, all you have to do is go to the Applicants table and filter the data! This will help immensely in hiring new employees ;)
What’s Jestor?
Jestor is a no-code tool to build scalable internal systems, fast. You can create apps, automations, workflows and databases tailor-made for your company. Unlimited users, records, apps and automations. Try it for free here ?

