Getting purchase requests via Typeform and approving through a dashboard – no code required

Giving your team autonomy is very important if you want to keep your company efficient. Managing a team of five is very different from running a company of fifty. However, there are some cases when full autonomy can lead to chaos: unlimited power to expend money is one of those cases. A good process for approving purchases helps you avoid problems down the road, while also maintaining a thorough history of previous expenses.
We’ll teach you how to get a purchase request through Typeform and then get that information in a dashboard where you can keep track of and approve (or deny) all pending requests.
Platforms used:
Time to build the tool ⏱:
- 3min 54sec on average.
Costs to test ?:
- Typeform ($0 under 10 responses)+ Jestor ($0 under 200 actions/mo) = $0.00*
*costs may vary according to different providers pricing changes.
5 Steps to Get purchase requests via Typeform and approving through a dashboard
1. Create your form.
Go to Typeform and create a new form with all the information you’ll need from the applicant. For example, you’ll usually need an employee’s name, a description of the purchase and estimated amount. Once you’re done, publish the form and go to “Share” to get the link!
2. Create your Purchases list.
Create a table in Jestor, name it “Purchases”, and add all the fields you’ll need for the process, which in this case will be all the fields created in the form from step one. Also, create a single select field for Status, and write the options Approved, and Denied.
3. Integrate Typeform to the Purchases list.
Let’s get the information from Typeform automatically. Open the tricks panel (by clicking on the bunny in the hat icon) and create a new trick. Give it a name and description so you can later identify this trick should you need to edit or deactivate it.
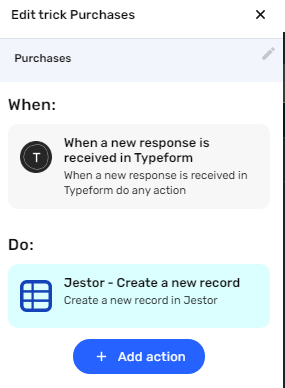
Now, as the trigger for this automation, select “When a new response is received in Typeform“. Connect your Typeform account and select the form you’ve created in step one in the “Choose the form” dropdown field. Save this and choose the “Jestor – Create a new record” action. Select the “Purchases” table and match the information coming from the form to the fields in the list. Now, everytime someone submits the form, the information will be automatically sent to Jestor.

4. Create an app to see the data.
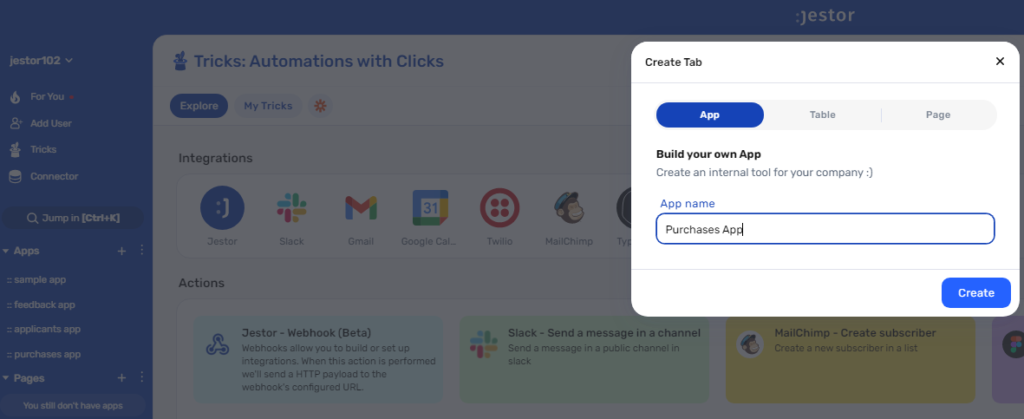
Create an app in Jestor and name it “Purchases App”. We’ll build one component in this app: a table that shows every new request.
- Table: click on the + icon, then Tables. Name it “New Requests”, then select the Purchases table. Select and arrange the fields you want to see in this table, and add a filter. Here, we’ll go with “Status” as the filtered field, “Does not contain”, and “Approved” and “Denied” as the condition.
Resize the component to your liking and save.

5. Test your automation to make sure everything is working as planned your Content workflow.
Submit a new form with random information. Now go to the Purchases App. The table component you created should now have your submission.
Click on the Status field (or open the record itself) and change it to “Approved”. As you have now triaged this record, it will vanish from the table! Now you know that every single record present here is actually something you haven’t looked at yet, and can work accordingly.
Always remember that you can create follow up automations (such as Tasks to buy the items when the request is approved), which can really help you manage the process any way you want to. The important thing is that now you can have a zero-hassle way for your team to request new purchases, and a process so easy to manage you can stop worrying about slowing things down!
What’s Jestor?
Jestor is a no-code tool to build scalable internal systems, fast. You can create apps, automations, workflows and databases tailor-made for your company. Unlimited users, records, apps and automations. Try it for free here ?

