Creating a public app for feature requests – no code required

Having a way for your users to request a feature is a great way to engage with your community, and most companies do that through a form or a chat tool. An even more awesome way to do this, however, is to create a public app where they can see all the requests, and see in real time what your team is working on.
We’ll teach you how to create a public app that does just that.
Platforms used:
Time to build the tool ⏱:
- 1min 51sec on average.
Costs to test ?:
- Jestor ($0 under 200 actions/mo) = $0.00*
*costs may vary according to different providers pricing changes.
4 Steps to Create a public app for feature requests – no code required
1. Create your Feature Requests list.
Create a table in Jestor, name it “Feature Requests”, and add all the fields you’ll need for the process. In this case, we’ll go with a name for the feature, a description, and an estimated date for roll out. Also, create a single select field for Status, and write the options New, Working on it, and Done.
2. Create an app for submissions.
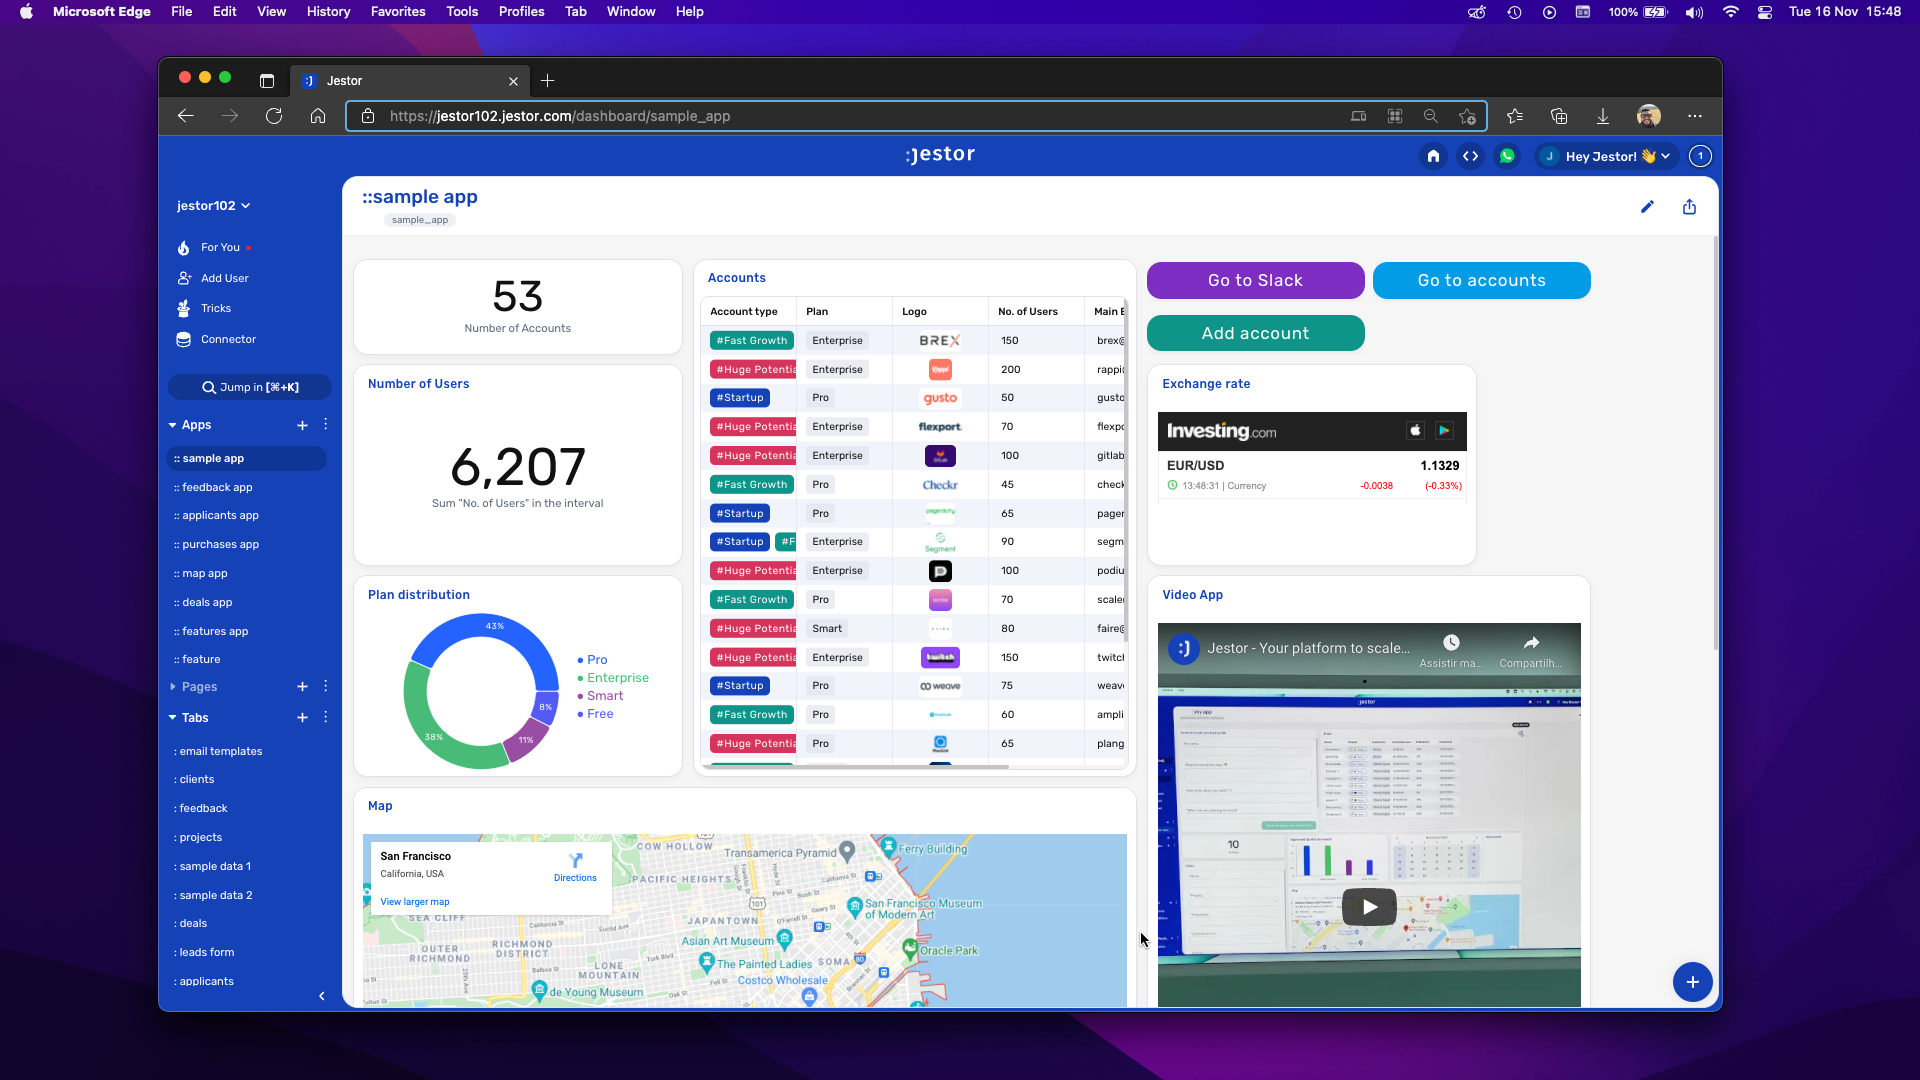
Create an app in Jestor and name it “Features App”. We’ll build three components in this app: a single trick button, a table, and a calendar.
- Single Trick Button: click on the + icon, then Single Trick Button. You’ll want two fields here: a short text field for the feature title, and a long text field for the description. Make them both required and choose a label and color for the button. Now, you’ll create a trick for this button: choose the “Jestor – Create a new record” action. Select the “Feature Requests” table and match the information coming from the form to the fields in the list. In the Status field, type New, to make sure every request is categorized. Save this trick and then save the component.
- Table: click on the + icon, then Tables. Name the component “Requests”, and choose the “Feature Requests” table. Now, select only the fields you want people to see, then save this component.
- Calendar: click on the + icon, then Events and Calendar. Name the component “ETA for features”, and choose the “Feature Requests” table. For the reference date, choose the field Estimated date. Save this component.
Resize the components to your liking and save.

3. Make the app public.
Click on the access control icon in the top right part of the app, and click on “Create public link”. This will provide you with a public URL you can share!
4. Test the app to make sure everything is working as planned.
Open the app in an anonymous window and use the form to submit a feature request. This will make the feature appear on the table component. Note that people in this link cannot change the information there, only see it!
Now, in your account, change this new record’s status to “Working on it” and change the estimated date to today. Go back to the public app: it should now have appeared on the calendar!
Inside Jestor and entirely no-code, you’ve just created a public app that not only is super useful for your team, but an awesome way to engage with your community! Not only will they see you’re taking their feedback into consideration, but they can see the calendar as they eagerly wait for new updates ;)
What’s Jestor?
Jestor is a no-code tool to build scalable internal systems, fast. You can create apps, automations, workflows and databases tailor-made for your company. Unlimited users, records, apps and automations. Try it for free here ?

