How to Get a Slack Message when a Bug is Reported and Send Updates to Your Client Automatically – no code required

If you’re in a tech company, you know sometimes things break. Bugs are to be expected in any changing, evolving product, and it’s important to have a system in place to solve them as quickly as possible, while also providing a delightful experience to whomever reported it in the first place.
We’ll teach you how to get automatic Slack notifications as soon as a new Bug report is submitted, and also how to update your client automatically as the ticket changes its status.
Platforms used:
Time to build the tool ⏱:
- 5min 0sec on average.
7 steps to Get a Slack Message when a Bug is Reported and Send Updates to Your Client Automatically
1. Step One: Creating your form.
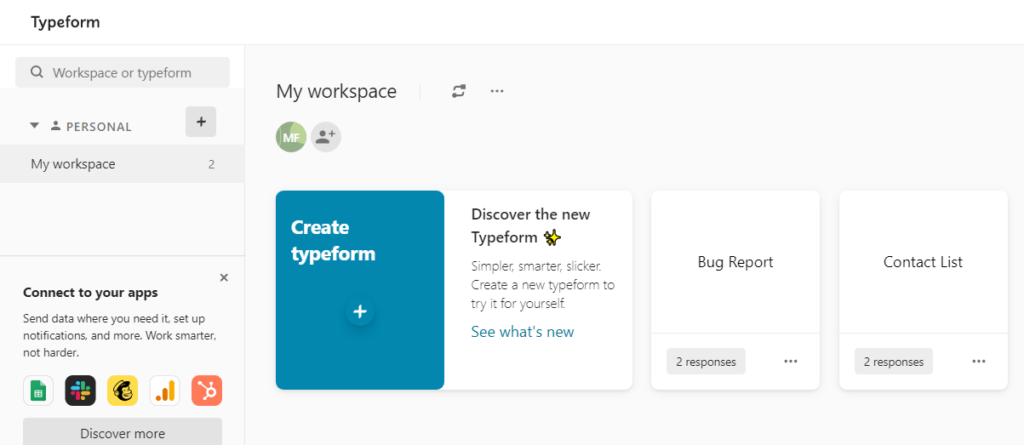
Go to Typeform and create a new form with all the information you’ll need from the submitter. In the case of a bug report, this means contact information that helps you when reaching out to them (such as name and email address), and also at least one text field for a description of said bug. You may also create other fields for interests, such as a category or product in which the bug was found.
Tip: While we’re using Typeform for this post, you could also skip it in favor of using Jestor’s forms in the next step. While they are simpler, you may not want something as visual as Typeform if all you need is a quick way for the user to report a bug. Ultimately, the choice is yours, but do keep in mind that it may alter some of the automations necessary!

2. Step Two: Creating your Bugs workflow.
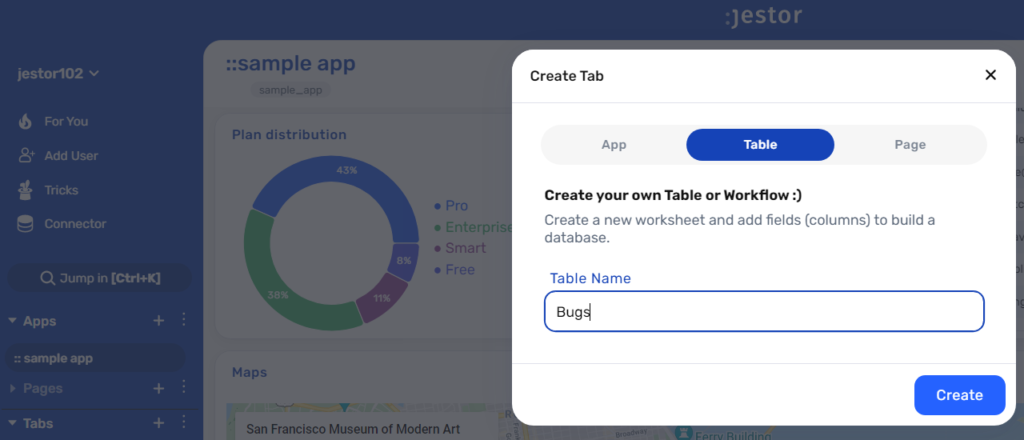
Create a table in Jestor, name it “Bugs”, and add all the fields you’ve created in the form in Step One. The idea here is to get the information submitted and organize it into an easy to use database. You can also create a single select field for Status, such as New and Solved, then click on “Flow” to activate a workflow view. Now, you have a visual representation of the process, and can basically drag the bugs’ cards along as you work on them.

3. Step Three: Integrating the form to the Bugs workflow.
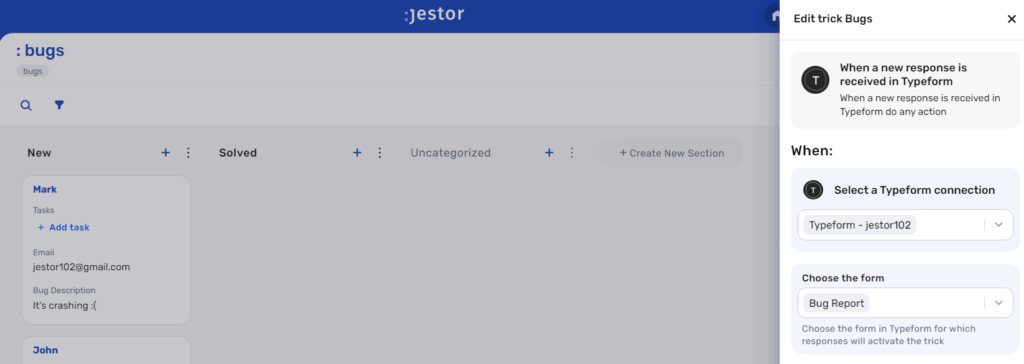
Now, let’s get the information from Typeform automatically. Open the tricks panel (by clicking on the bunny in the hat icon) and create a new trick. Give it a name and description so you can later identify this trick should you need to edit or deactivate it.
Now, as the trigger for this automation, select When a new response is received in Typeform. Connect your Typeform account and select the form you’ve created in Step One in the “Choose the form” dropdown field. Save this and choose the “Jestor – Create a new record” action. Select the “Bugs” table and match the information coming from the form to the fields in the workflow. Now, everytime someone submits the form, the information will be automatically sent to Jestor.

4. Step Four: Setting up a Slack alert.
Now, when someone reports a bug, you want to get started on it STAT. There’s nothing better for that than real time notifications and, in this case, we’ll go with Slack messages.
Choose the “Slack – Send a message in a channel” action. Connect your Slack account and choose the channel the alert will be sent to. Now, type in the message that you want to receive by using a mix of fixed text and dynamic information.
We’ll go with: “New bug reported: {{bugs.name}} | {{bugs.description}!”
5. Step Five: Creating an automation to update your client.
Open the tricks panel (by clicking on the bunny in the hat icon) and create a new trick. Give it a name and description so you can later identify this trick should you need to edit or deactivate it.
Now, as the trigger for this automation, select When a field is changed. In this example, what we’re going to do is send an email to our client as soon as we move a Bug to the “Solved” status. Select the “Bugs” table, as a condition choose the field Status, then write in the value “Solved”.
6. Step Six: Sending an automatic email.
Now, choose the “Gmail – Send email” action. Connect your Google account and set up the email by filling in all the required fields. You can do so by writing in things directly, by using information from Jestor, or a mix of both. In this case, we’ll go with:
- To: we’ll send the email to our client, using the email address they provided through Typeform. Depending on how you named the field in your workflow, it will probably look something like {{email}}.
- Subject: we’ll write “Status Update: Your ticket regarding {{bugs.name}} is solved!” to get a dynamic subject that reflects the reported bug.
- Message: just as the subject, we’ll make sure the message is dynamic by using something like: “Hi {{client}}! Your ticket “{{bugs.name}} is now marked as solved. Please let us know if the problem persists.”
7. Step Seven: Testing your automation to make sure everything is working as planned.
Submit a new form entry with your own information. If you’ve set up everything right, you should have received a Slack message notifying you a new bug was reported, as set in step four.
Now, go to Jestor and drag this new ticket to “Solved”. You should get an email just as you set up in step six.
You now have a fully functional Bugs workflow that not only notifies you of new submissions, but also lets your client know automatically when their ticket is solved. There’s a lot more you can do with the workflow internally: for example you can automate tasks or assign Owners according to category. Automating process not only make them quicker, but a lot less prone to errors ?
What’s Jestor?
Jestor is a no-code tool to build scalable internal systems, fast. You can create apps, automations, workflows and databases tailor-made for your company. Unlimited users, records, apps and automations. Try it for free here ?

