Creating Hubspot Contacts automatically when a lead is qualified – no code required
If you’re using a dedicated CRM, chances are you’ve tied (or at least heard of) Hubspot. It’s a nice tool that has a lot of inbuilt features that can be used on a daily basis, from sales processes to email marketing, and it can be quite handy if you need a quick plug-and-play solution, before moving on to a more customized process. However, it can be difficult to keep it updated if you’re running your operations in another platform entirely.
We’ll teach you how to automatically create a Hubspot contact as soon as you qualify a lead in Jestor.
Platforms used:
Time to build the tool ⏱:
- 3min 47sec on average.
Hubspot ($0 You can try for free) + Jestor ($0 under 200 actions/mo) = $0.00**costs may vary according to different providers pricing changes.
4 Steps to Create Hubspot Contacts automatically when a lead is qualified
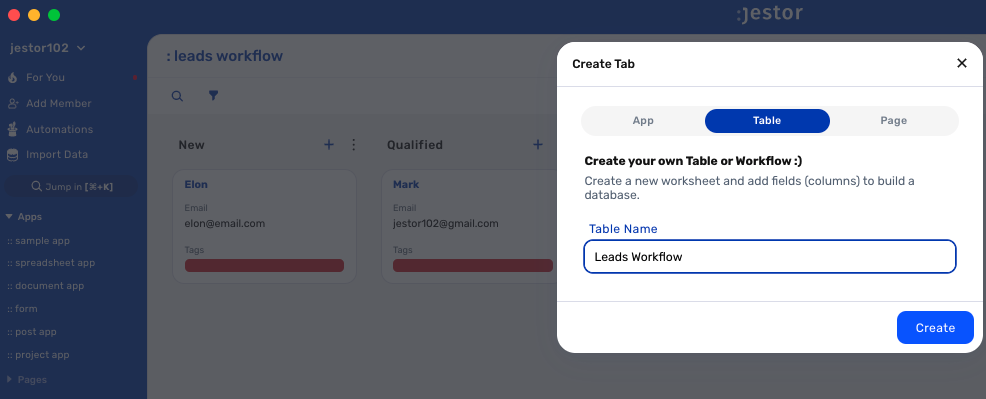
1. Create your Leads workflow.
Create a table in Jestor, name it “Leads”, and add all the fields you’ll need for the process. For example, you’ll usually need an Leads name, email address. Create a single select field for Stage, such as New, Qualified and Discarded. Then click on “Flow” to activate a workflow view. Now, you have a visual representation of the process, and can basically drag the cards along as you work on them.
2. Create your automation.
Open the tricks panel (by clicking on the bunny in the hat icon) and create a new trick. Give it a name and description so you can later identify this trick should you need to edit or deactivate it.
In this automation, we’ll create a Hubspot Contact when a lead is moved to “Qualified”. So, as the trigger for this automation, select When a field is changed, choose the “Leads” table, as a condition choose the field Stage, then write “Qualified”.
3. Integrate Hubspot to your pipeline.
Now, choose the “Hubspot – Create Contact” action. Connect your Hubspot account and fill in the required information. In this case, all the relevant leads information, this is a very complete one.
Now, as soon as you pass a lead to the Qualified stage, a Hubspot Contact will be created.
4. Test your automation to make sure everything is working as planned.
Move the card to the “Qualified” stage. If you’ve set up everything right, a contact will appear on you Hubspot contacts tab:
Now, not only a contact is created automatically, but you’ve provided a quick way for your comercial team to contact qualified leads with all relevant informations they need.
What’s Jestor?
Jestor is a no-code tool to build scalable internal systems, fast. You can create apps, automations, workflows and databases tailor-made for your company. Unlimited users, records, apps and automations. Try it for free here ?