Pros and cons of Multiple Inventories + Procurement template

The most challenging component of inventory procurement is determining the optimal quantity of goods to hold in stock. Sometimes, this can positively impact your company – especially when you need to make subsequent deliveries. Having an excess of goods is effective only for companies that move their inventory regularly and quickly.
Let’s delve into some of the advantages and disadvantages of holding goods in excess to determine an adequate solution for your business.
Pros
- Quick order delivery
When you have multiple stocks in your inventory, you can ensure meeting customer requests within the required time frame. Faster delivery of customer purchases will positively impact your business. - Decreased storage risk
Along with faster order fulfillment, multiple stocks also eradicate the risk of having a shortage of items. It also facilitates the application of Just-In-Time (JIT) production strategies. - Discount deals
Your business can also benefit from supplier discount deals if you make purchases in bulk. These discounted deals help reduce costs and allow you to make a more significant profit on your sales.
Cons
- Increased expenditure
One of the biggest challenges faced is the cost associated with storage. The more items you have, the more space you need to store them. These costs include storage costs, inventory control, or audits. - Out-dated inventory
Multiple inventories also have the chance to become obsolete before you sell them all. If you do not encourage continuous innovation in your products, they can lose their charm once the craze is over.
How to build and use it free?
Jestor can help you solve all queries related to multiple inventories and their procurement with a few clicks on your screen. Installing the template would suffice and cater to all your inventory management requirements.
Step one
As soon as you create your account, you’ll be on the Templates page.

Step two
In the search templates bar, type “Procurement.” Select the first thumbnail that appears.
Step three
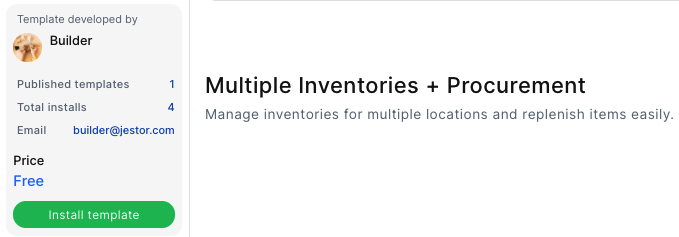
To use the template, simply click on “install template” on the bottom-left side of the screen.

Step four
As soon as the template is installed, you’ll receive a notification and the tables and apps will appear on your menu

Once you have filled in the required fields according to your requirements, click on Submit. Jestor will store the information in the database, and you can edit it whenever an update is needed.

